 How 2 Garrison
Field Manual
Holding the wall is a team sport. The right troops, the right joiners, and a rally that does not crumble on the first hit.
Same as any rally: the right slot, and heroes that carry troops.
Your joiner hero takes the first slot - the one with the little flag icon. That is the hero the garrison reads.
The other two heroes do not change the bonus, but give them a high XP level so you bring more troops.
A garrison is a wall. Lead with infantry and your defense holds. The exact ratios are in Track 02.
Three troop types, two jobs: hold the line, or break it. For a garrison you mostly hold.
Your defensive frontliners. The wall.
2nd in command - offense and defense, master of none.
Damage dealers. Glass cannons. Weak on defense.
The tier and level of your infantry MATTERS. Always: 1. upgrade your barracks, 2. promote your troops.
Hero gear, governor gear, charms and research do NOT affect your JOINER troops. They only boost your rally strength when you are the one LEADING.
As a joiner, exactly one number on your hero counts. Everything else is noise.
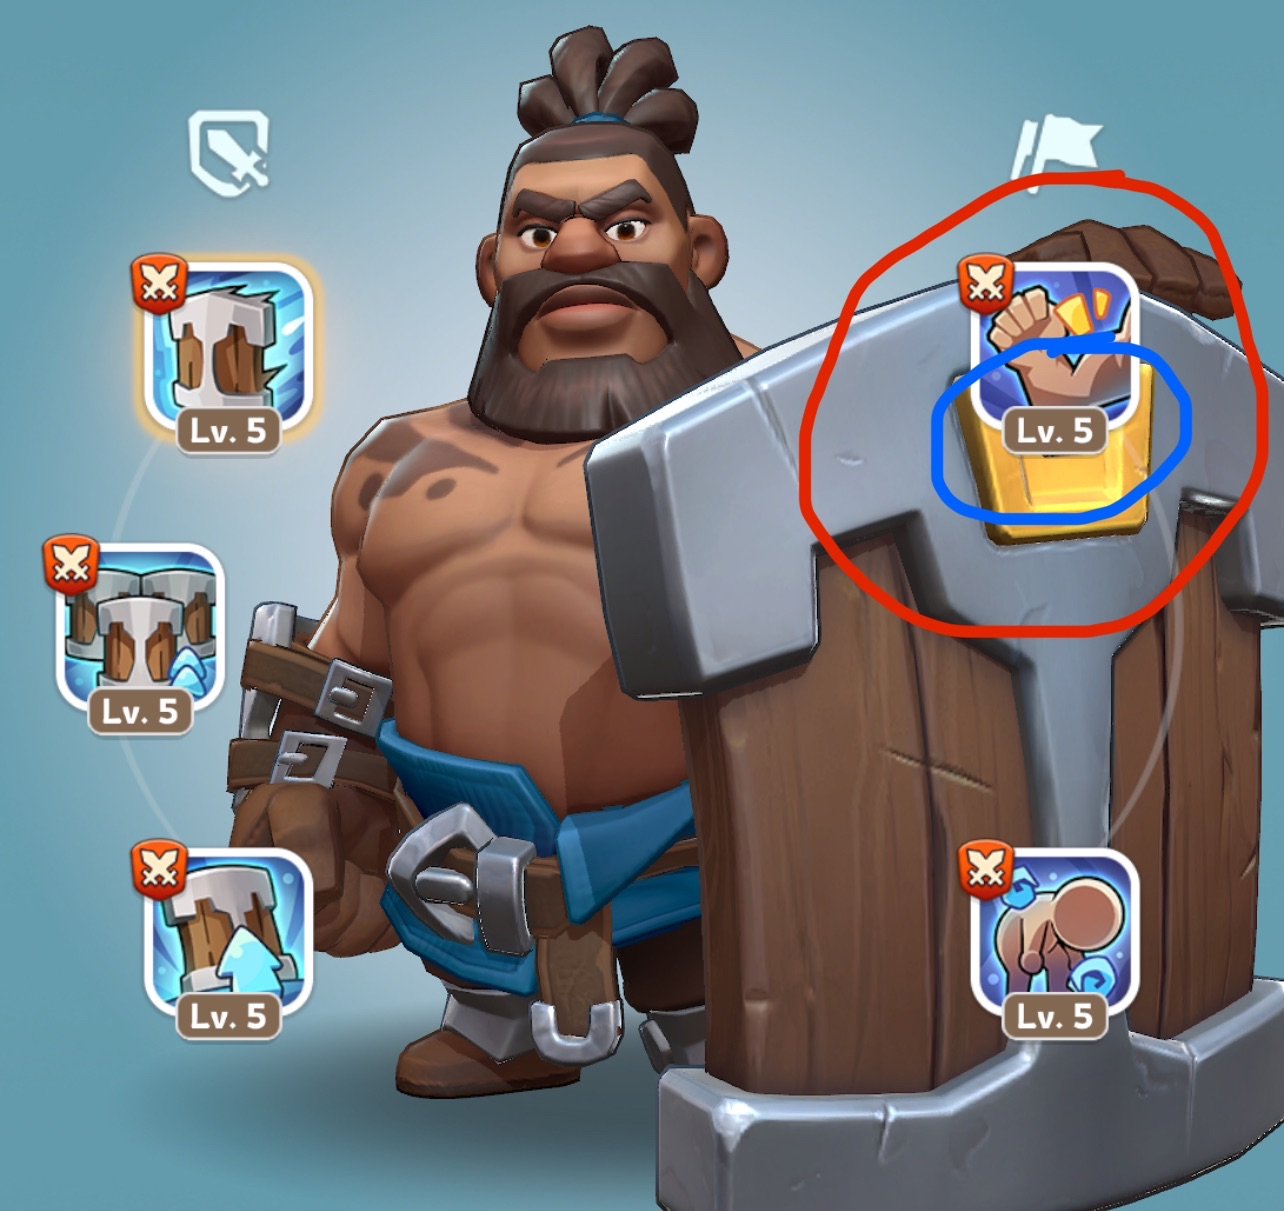
It is always the Expedition skill on the top-right of your joiner hero - that skill and its skill level are all that count.
Strip the gear off your joiner heroes and feed it to your three rally leaders. See the gear guide.
Only up to four joiners contribute to the overall rally bonus.
Most of the time: S and A tier defensive heroes, paired with a 70/30/0 or 60/40/0 formation.
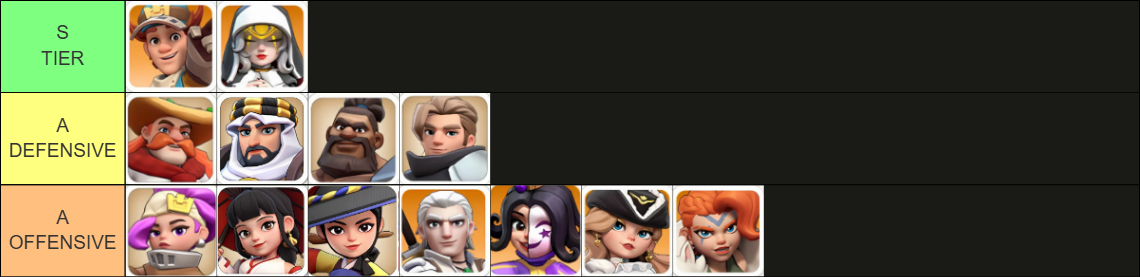
Use the S tier and A defensive heroes with 70/30/0 or 60/40/0. That is your bread and butter.
Offensive heroes can be used, but you trade some defense for offense. Sometimes that is necessary depending on the opponent - for example, Viking Vengeance.
When a defense fails, the report tells you exactly why. Learn to read it.
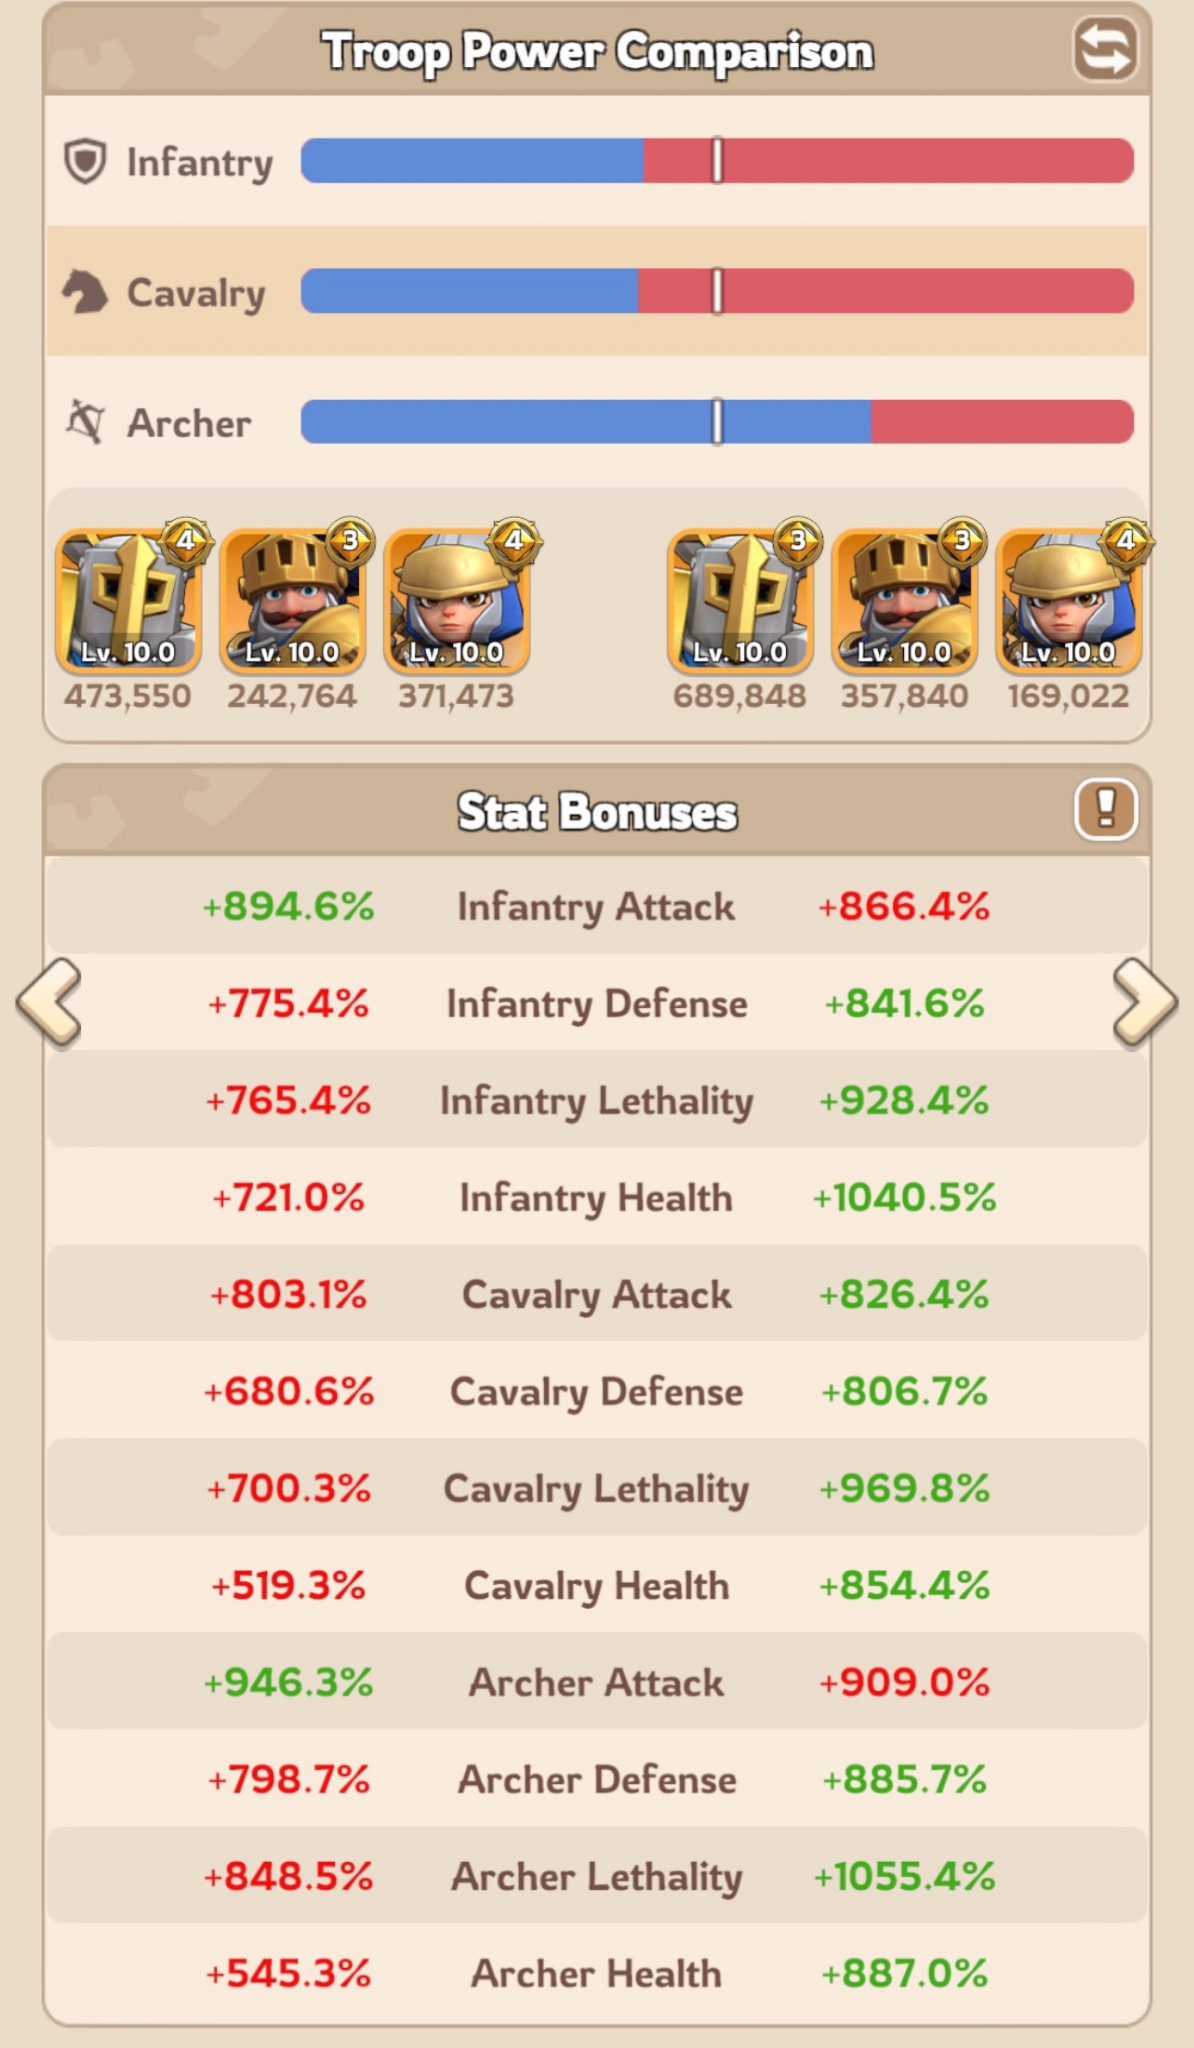
Not enough infantry and cavalry, and too many archers. The wall was paper.
Lacking severely in infantry defense, lethality and health.
Outnumbered - roughly 1m vs 1.3m. You cannot hold what you cannot field.
Three problems, three fixes. The remedies are in Track 06.
Fix the three failures from the report, in order.
Your mix was lacking defense. Reset it to a defensive ratio:
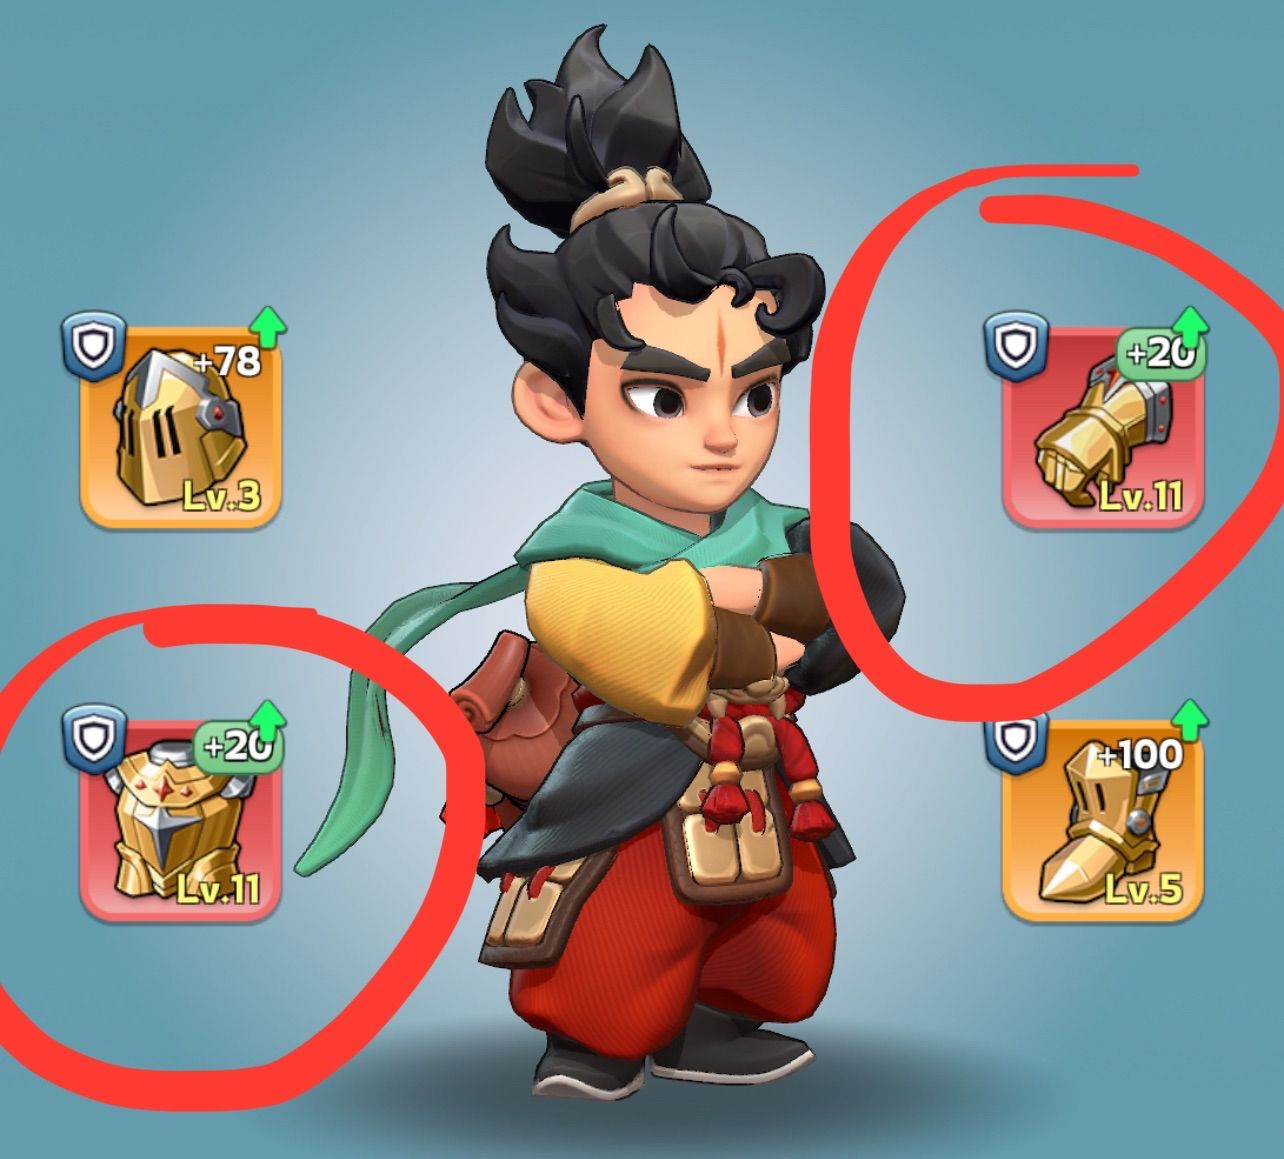
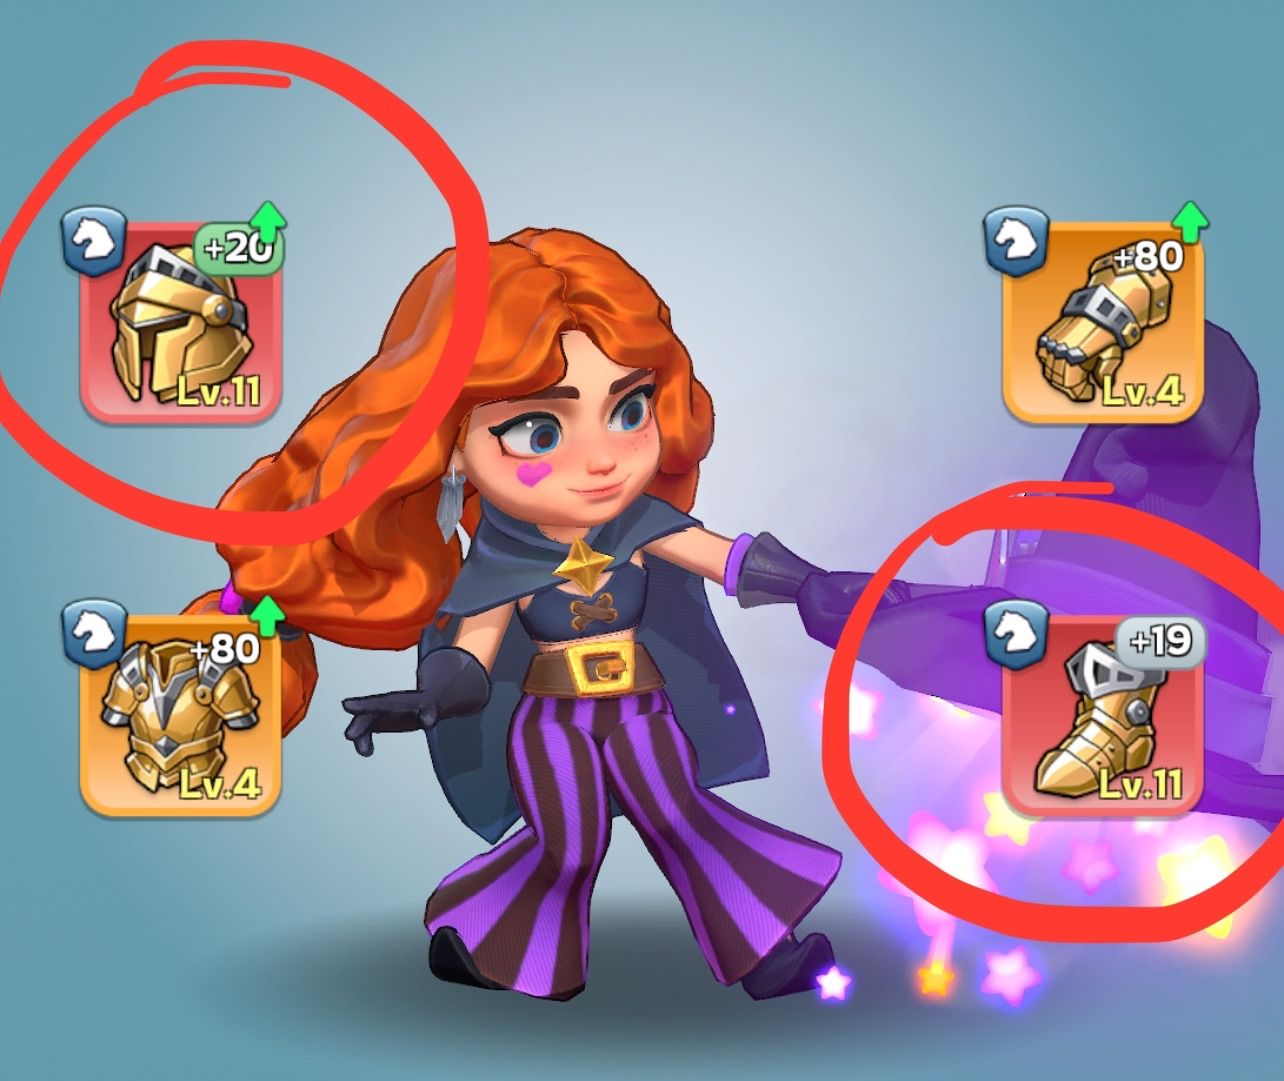
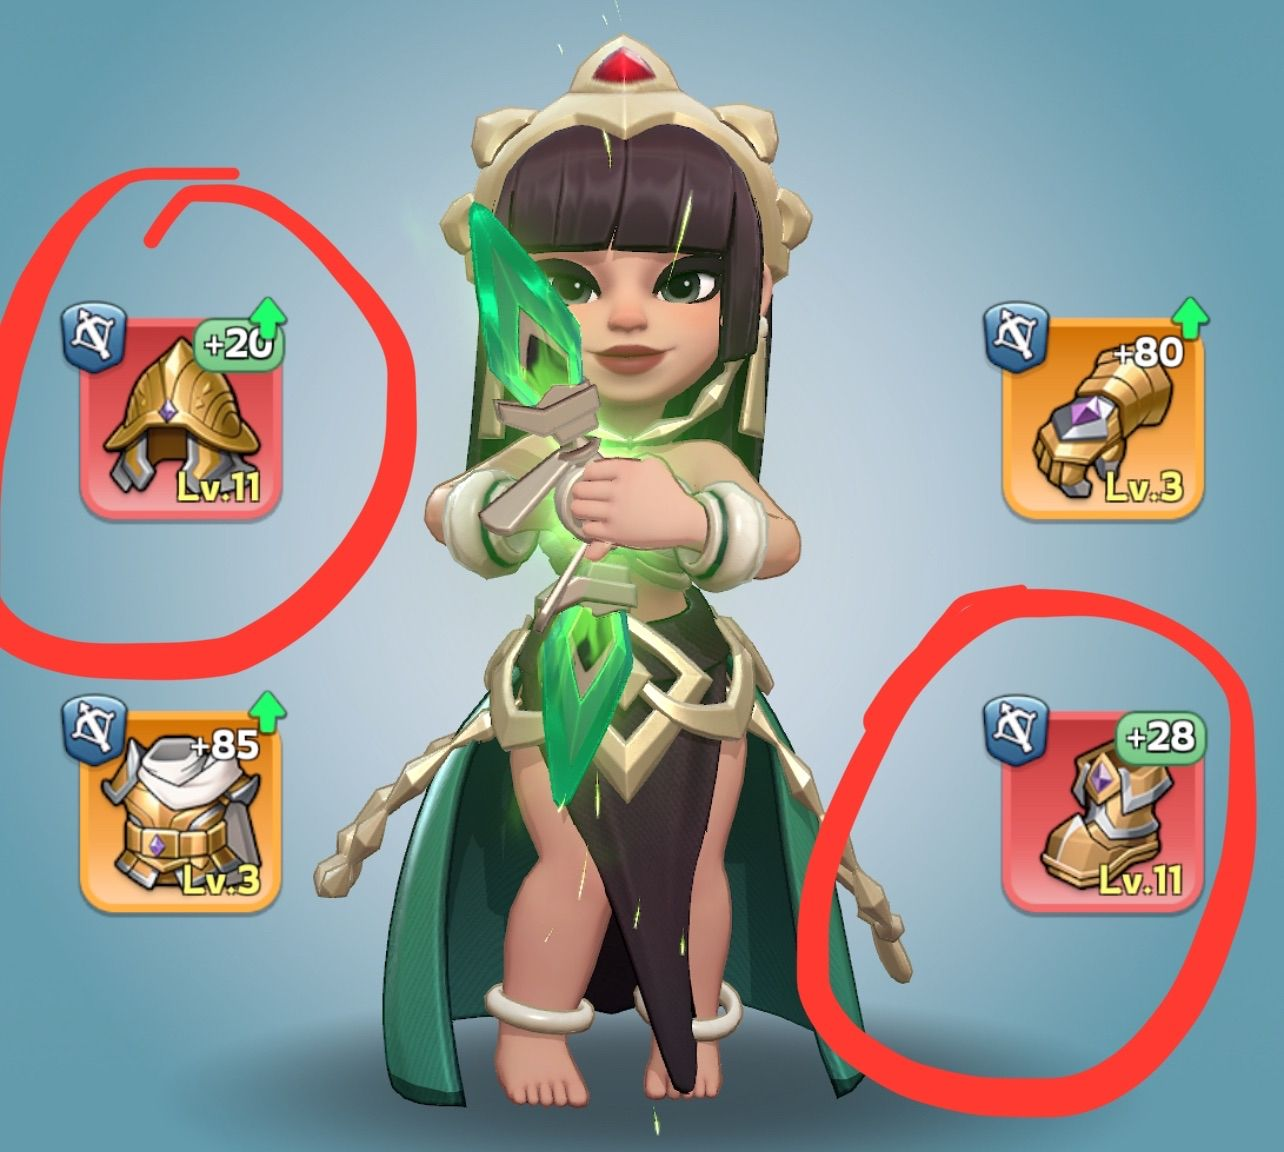
Lead with the right heroes and the right infantry gear:
High-value objectives. Take them as a team, never alone.
Coordinate a rally leader with your alliance, and have people join with the correct heroes and troop formation. Replenish troops after each attack.
Do not solo attack forts and sanctuaries. You will throw troops away for nothing.
You get extra rewards for being the first to defeat the rebels - which means up to 15 people can earn them if they rally together. So rally together.
The tricks that win garrisons and break the other team's.
Focus turrets to weaken the enemy castle occupier before you commit.
Lead perfectly timed double or triple rallies to knock someone out of a garrison - practice landing them a second or less apart.
If the fight is hostile, focus the enemy team's joiners' castles - the weaker members. Weaken them and their rallies and garrisons go empty and easy to take.
If the enemy is hostile, keep all allies reinforced, and constantly replenish troops wherever you are garrisoned.
With enough people online you can set a short heal timer and heal instantly. 20 online x 4 min each = 80 minutes of instant healing. Skip it and you bleed troops and speedups. More in Track 09.
The more allies online, the more wounded you clear in a single click.
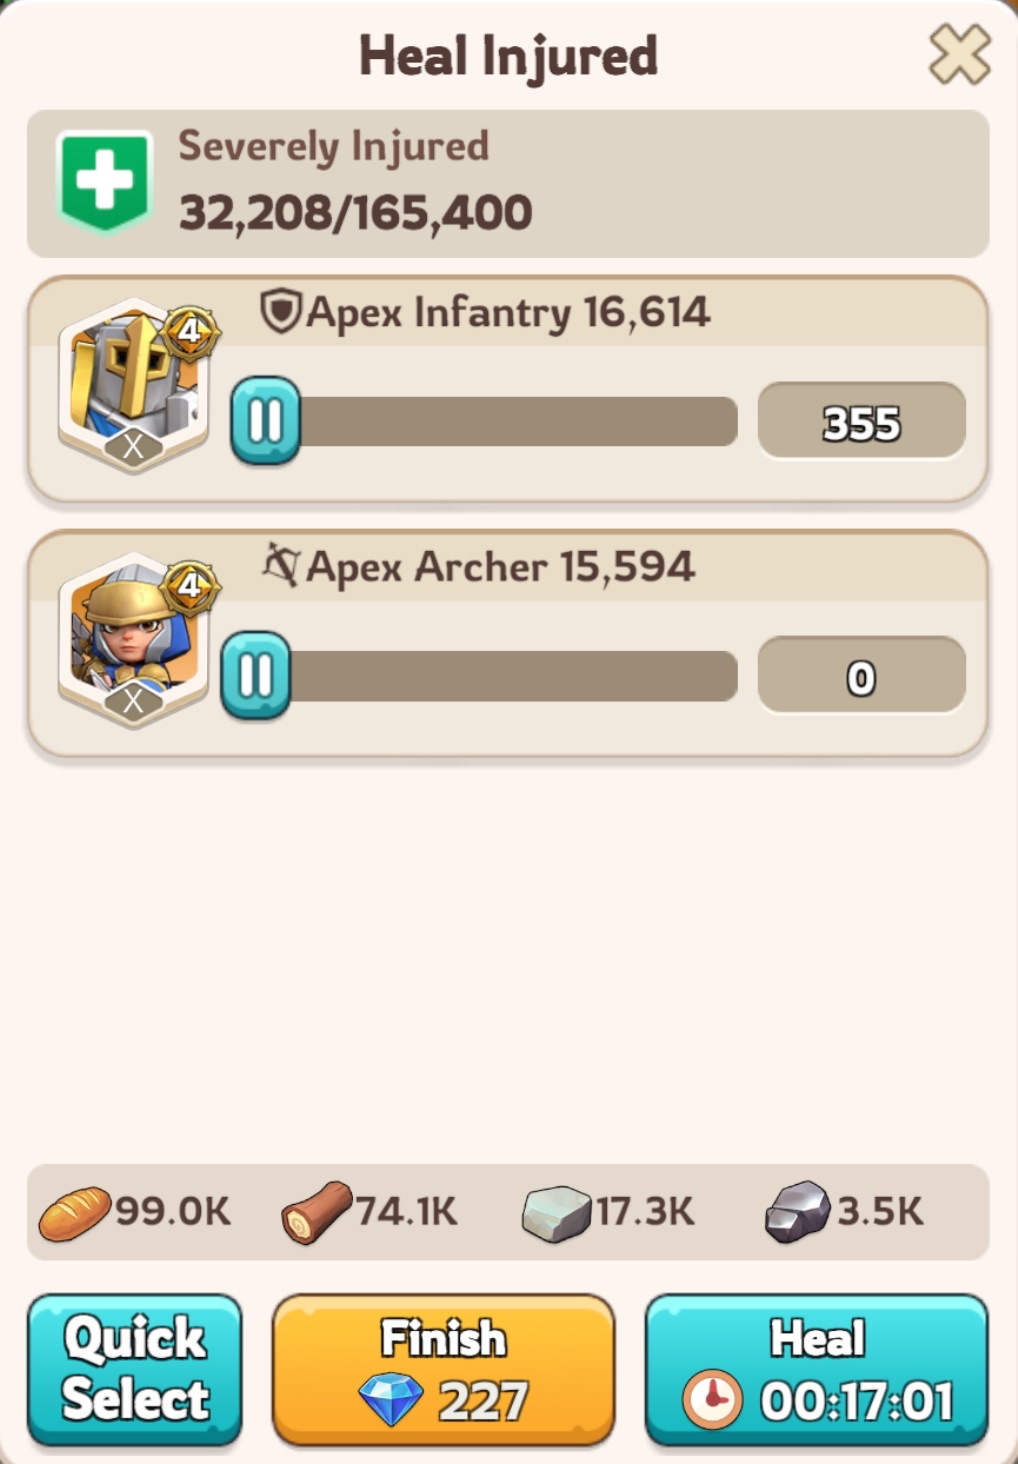
For the people holding the keys - R4 and R5.
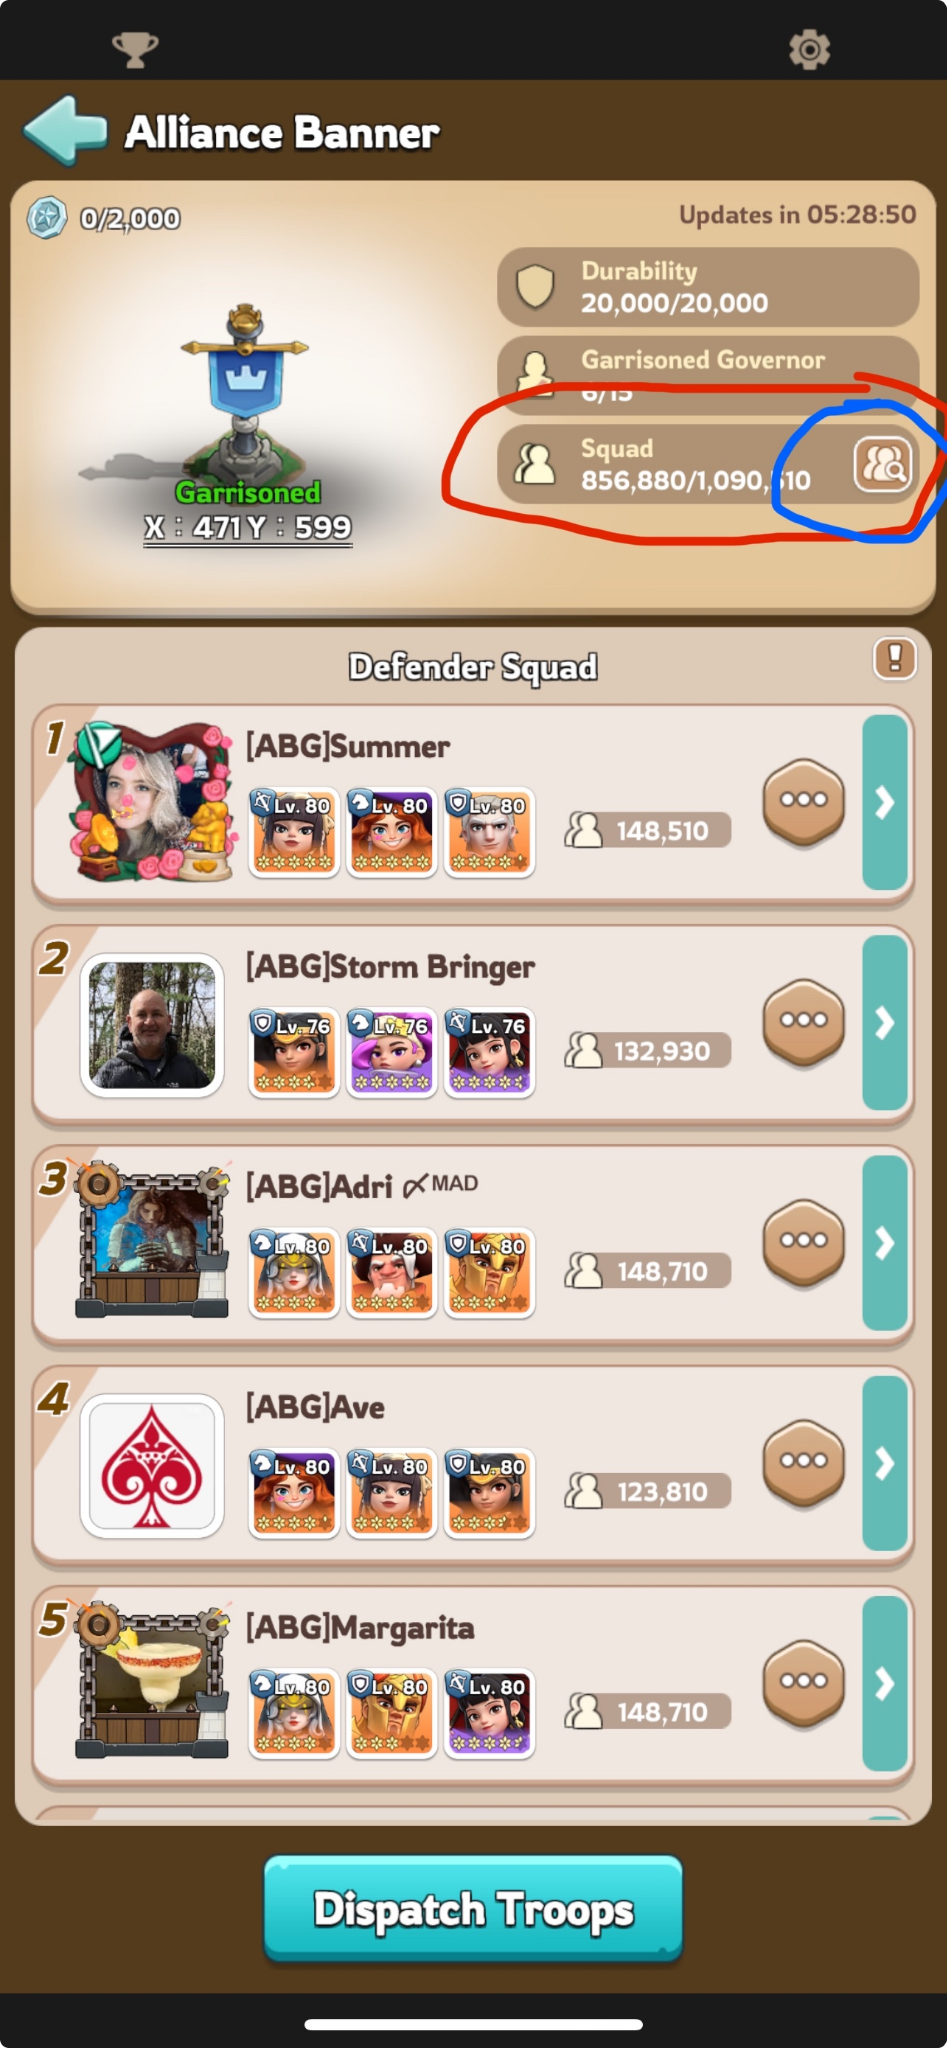
If a joiner you don't want is sitting in the bonus (first 4 spots):
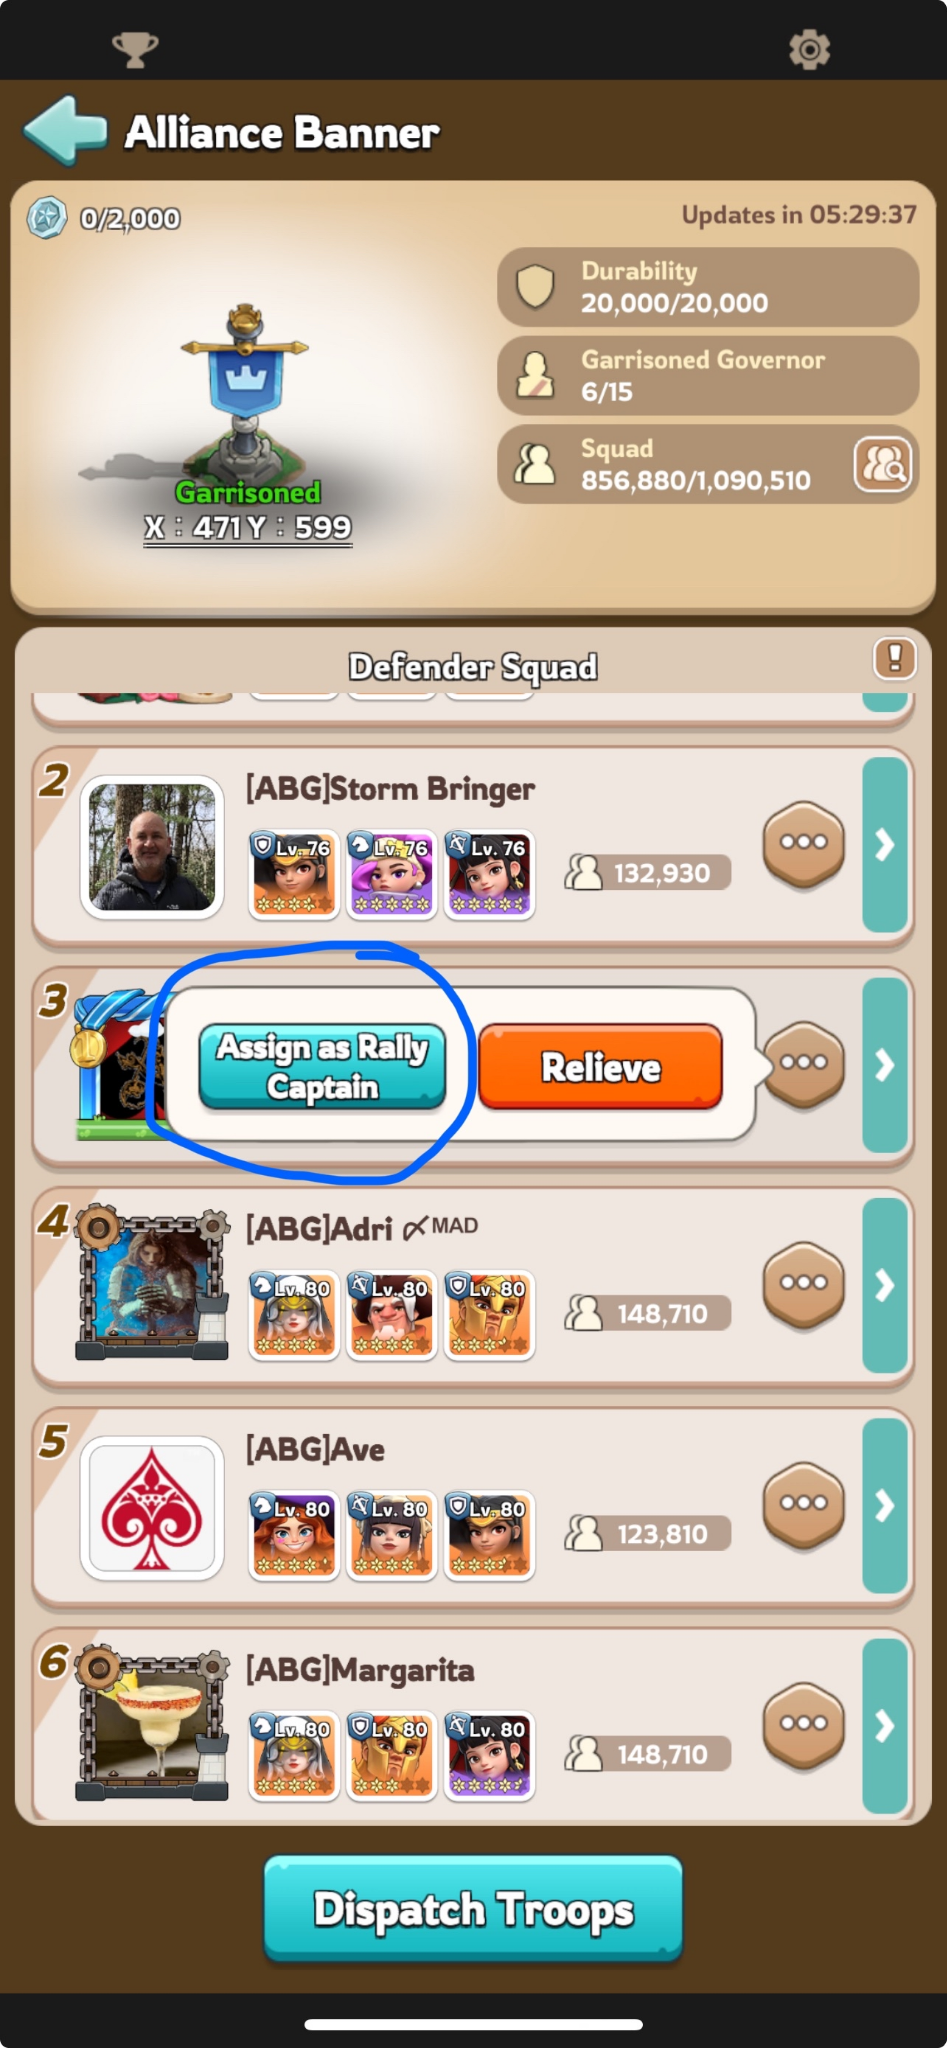
Read the garrison's combined troop ratio and steer it. In this example it is 39 / 30 / 30 - too few infantry.
Check who has which troops by tapping the blue arrow to the right of each name.